

A kitchen is the most happening place in a house. It is the place that satisfies our hunger- the most important thing that we all work for every day. A commercial kitchen, i.e., a place where food is prepared in large quantities for business purposes are even more important. Because of the huge amounts of heat produced in such places, for the well being of the staff and customers in a commercial kitchen, a kitchen ventilation system is more than essential. Because a lack of ventilation can cause serious health problems and it may also cause discomfort to those working in such spaces and as a result, it will decrease their potential. All these are the result of the excessive heat, smoke grease and steam produced in such commercial kitchens. But as we are used to be in enclosed buildings, because of the climatic conditions and other reasons, proper ventilation is not generally present and it calls for the need for ventilation systems. These systems include hood filters, vent hood, ductwork and commercial extractor fans. It helps eliminate contaminants from the air and creates a very comfortable environment. It also helps in reducing fire risk in commercial kitchens.
What Is A Commercial Kitchen Extractor Fan?
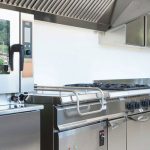
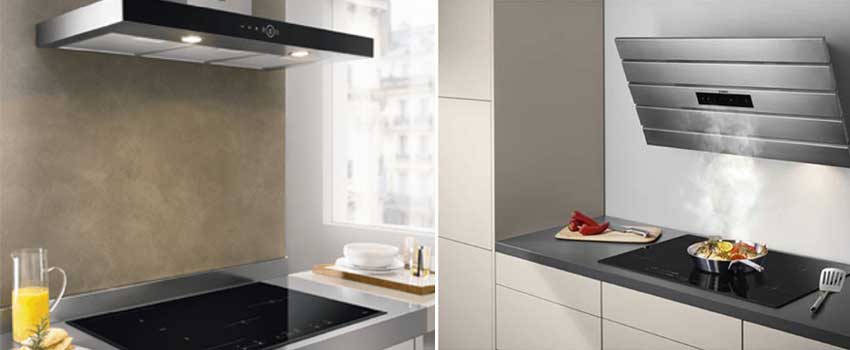
Commercial kitchen extractor fans, that are also known as range hoods are structures that perform the heavy-duty task of removing moisture and impurities from the air in a commercial kitchen. They are generally situated directly above stovetops and other cooking surfaces. It also consists of a hood that is known as a canopy and a fan. The canopy captures the moist and dirty air. Whilst, the fan that is inside it helps in extracting the air and moving it away from the kitchen and expelling it safely outside. Therefore, by removing these air pollutants, heat and steam, the fans make the working environment very pleasant to be in. Therefore, we can conclude that an extractor fan helps in offering maximum productivity in your kitchen.
What Does A Commercial Kitchen Extractor Fan Remove?
Commercial Kitchen Extraction fans, literally save a commercial kitchen by removing:-
- Strong odours from cooking
- Grease particles released from frying and other processes
- Steam from boiling water and other simmering foods
- Smoke that is a by-product of burning gas
- Harmful vapours and other pollutants
- The hazardous carbon monoxide gas and other toxic gases
- Excess heat.
Removing these are more than essential because the build-up of sticky grease may become hard to clean and it may cling on to other pieces of the equipment. Moreover, it will also block the airflow in other appliances and make the entire kitchen look dirty and unsanitary. It is even more dangerous because grease build-up means an increased risk of a grease fire in the kitchen. So apart from excluding humidity from the air removing grease via extractor fans will maintain a clean environment and prevent serious health ailments.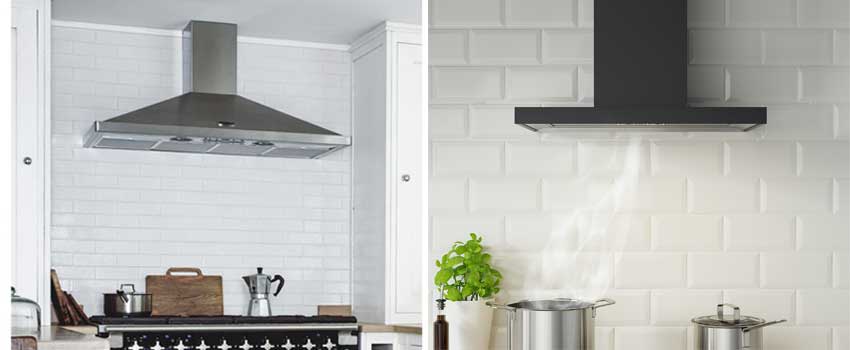
Humidity is also a damaging element in a commercial kitchen environment. If not for the kitchen extractor fans humidity would condense and collect on the available furniture, equipment and walls. It may be detrimental to these items. Over time, they will also lead to noticeable water damage in vulnerable areas. The extractor fans prevent these issues and help in saving a huge amount of money, that would be otherwise spent on fixing these damages.
Working in a kitchen at home in itself is a great challenge because of the rise in temperature. It becomes, even more, worse in a commercial kitchen where the thermostat keeps climbing. But thanks to the kitchen extractor fans, as they pull out extra heat and maintains a cool and comfortable temperature to work in. It, therefore, helps even in cutting down the buck spent on air conditioning as it prevents heat from collecting.
Maintaining your kitchen exhaust fan on a regular basis is very important as it increases its efficiency and lifespan. So let’s see how to clean them:-
Step 1: Unplug the Extractor fan Unit
To avoid serious injuries or death by electrocution commercial appliances has to be unplugged before beginning the cleaning process. It is always best to use a tarp or painters drop cloth around the area while cleaning so that you can catch trips. And also remember that no cooking should be done while the unit is being cleaned.
Step 2: Remove Grease Containment Traps
Most of the commercial exhaust fans have grease collecting traps receptacles, that are placed on the side of the hoods. To clean the, remove the grease from it and put it into a sealed metal container for proper disposal at a convenient time, later. And then mix very hot water with grease-cutting cleaner and then soak the grease traps in it for some time. This will help in softening the sticky residues, and so you can easily clean them.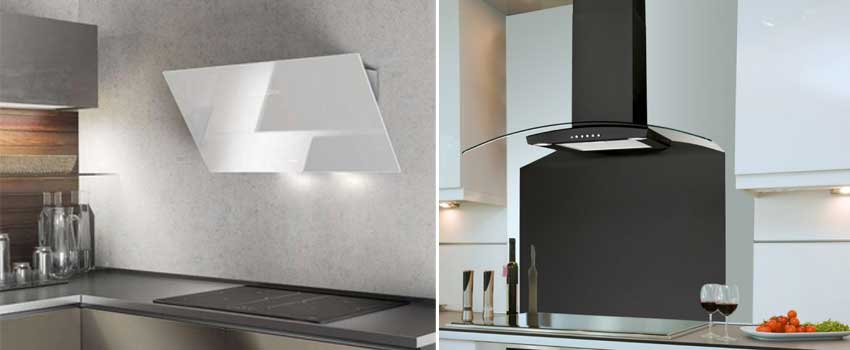
Step 3: Remove the filters
Filters are also present in kitchen exhaust fans, and these serve to trap dust, grease and other particles. These may quickly get coated with thick greasy residue just like the grease traps. And so if not cleaned and maintained well, they will lose their effectiveness. Therefore, make sure that you remove these filters and clean them separately while cleaning your traps. And then soak the filters in the same mixture of hot water and grease-cutting solution. After soaking for a considerable amount of time the grease in it will be loosened and so you can scrub off the remaining residue with a nylon brush.
Step 4: Cleaning the hood and fan
Just like the rest of the unit, the exhaust fan cover or hood also deserves thorough cleaning. While you have soaked your traps and filters, also make sure you make a similar solution for the hood. And then soak a soft cloth in the cleaning solution and scrub the interior and exterior of the hood using the cloth. To avoid fire hazards that may be caused by the accumulation of gunk and grease, do not forget to address all the surfaces and corners.
Step 5: Clean the fan blades
As all the dirty air from your cooking area passes through the fan blades they often become very dirty and so they have to be cleaned. But be careful not to spray the cleaning solution directly into the unit. Instead, use a cloth and scrub it.
After you are done with all the steps, dry and reassemble them in order.
